How to Grow, Care, and Harvest Crops in
Your Survival Garden
Are you ready to secure your food source and embrace self-sufficiency, especially as seasons change? Building on what we shared in our last article about survival gardening, let's explore some resilient and reliable plants for your survival garden. These choices are hardy, versatile, and perfect for ensuring your family's food security.

Planting, Caring, and Harvesting Tips
Whether you're a seasoned gardener or just starting, these resilient plant choices will empower you to grow, care for, and harvest crops that will sustain you during challenging times.
Potatoes
Planting
-
Choose healthy seed potatoes with unblemished eyes and let them sprout for a few weeks before planting.
-
Create rows in your garden with 2 to 3 feet spacing between each.
-
Place the seed potatoes with the sprouted eyes facing up, 3 inches deep, and 12 inches apart within the rows.
-
Cover the planted area with a layer of mulch or straw to conserve moisture.
Caring
-
Continue to mound soil around the base of potato plants as they grow, ensuring that only the top leaves are exposed.
-
Water consistently, aiming to maintain even soil moisture.
-
Pull out weeds often to stop them from taking nutrients.
-
Monitor the plants for signs of pests or diseases, such as Colorado potato beetles or late blight.
-
Apply organic pest control methods if necessary.
-
Hill up soil around the plants to encourage additional tuber formation.
Harvesting
-
Harvest when the plants flower and the tops start to die back (typically 10–12 weeks after planting).
-
Use a fork to gently dig up the potatoes, being careful not to damage them.
Tomatoes
Planting
-
Set up supports like stakes, cages, or trellises before planting to support the growing plants.
-
Transplant young tomato plants into the garden, burying them slightly deeper than they were in the nursery container to encourage root development.
-
Water thoroughly after transplanting.
Caring
-
Prune regularly to remove the lower branches and any suckers to encourage better air circulation and reduce disease risk.
-
Fertilize periodically with a balanced tomato fertilizer to promote healthy growth.
-
Apply mulch at the plant's base to help retain moisture and prevent weed growth.
-
Keep an eye out for pests such as aphids, hornworms, or whiteflies, and take action as needed, using organic pest control methods.
-
Regularly inspect the leaves for signs of disease, like early blight or late blight. Get rid of damaged leaves to stop them from spreading.
Harvesting
-
Harvest tomatoes when they turn fully ripe and feel slightly soft when touched.
-
Gently twist or cut the fruit from the vine to avoid damaging the plant.
Beans
Planting
-
Soak bean seeds in water for a few hours before planting to promote germination.
-
Create rows with 18–24 inches of spacing between each.
-
Plant the soaked seeds an inch deep and 2–4 inches apart within the rows.
-
Provide a trellis or support system for climbing varieties to keep the plants off the ground.
Caring
-
Water consistently prevents stress and promotes healthy pod development, especially during dry spells.
-
Mulch around the base of the plants to retain soil moisture and deter weeds.
-
Watch for common bean pests like aphids or bean beetles, and apply organic pest control methods if needed.
Harvesting
-
Harvest green beans when they are young, tender, and about the width of a pencil. Use clean scissors or fingers to snap them off the plant.
Kale
Planting
-
Sow kale seeds directly in well-drained soil, 1/4 to 1/2 inch deep, and space them 12–18 inches apart in rows or as per the variety's recommendations.
Caring
-
Water consistently to keep the soil consistently moist but not waterlogged.
-
Consider using row covers to protect young plants from cabbage worms and other pests.
-
If necessary, monitor for pests like aphids or caterpillars and address them with organic pest control methods.
-
Remove damaged or yellowing leaves as the kale grows to encourage new growth.
Harvesting
-
Begin harvesting kale when leaves are large enough to use (typically about 2 months after planting).
-
Start by picking the outer leaves, so the inner ones can keep growing.
Berries
Planting
-
Choose a sunny location with well-drained soil.
-
Prepare the soil by digging a hole twice as wide as the root ball or cane root system.
-
Amend the soil with organic matter like compost or peat moss, especially for blueberries that require acidic soil.
-
Plant blueberry bushes or raspberry canes according to the recommended spacing for the specific variety.
-
Water thoroughly after planting.
Caring
-
Mulch around the base of the plants with wood chips, straw, or pine needles to retain soil moisture and suppress weeds.
-
Ensure consistent moisture for blueberries, which are sensitive to drying.
-
For raspberries, provide a consistent water source, especially during dry spells.
-
Prune berry bushes or canes as needed to remove dead or diseased growth and promote new growth.
-
Install a support system like trellises for raspberries to keep canes upright.
-
Fertilize as recommended for the specific variety to encourage healthy fruiting.
-
Monitor for signs of pests, such as aphids or spider mites, and apply organic pest control methods as necessary.
Harvesting
-
Blueberries are typically ready for harvest in early to mid-summer when they turn blue and easily come off the bush.
-
Raspberries are ready for harvest when they turn red and easily separate from the plant.
-
Gently pick the ripe berries by hand, being careful not to damage the plant.
Extra Tip: Making Organic Compost
Creating organic compost is an excellent way to enrich your soil naturally and provide essential nutrients to your plants. Here are some tips on how to make organic compost:
1. Choose a compost bin or pile.
Compost bins come in various sizes and styles, including tumblers, stationary bins, and open-air systems. Choose one that suits your needs.
2. Collect compostable materials.
Gather organic materials that can be composted. These include kitchen scraps, yard waste, and other organic matter. Compostable materials include fruit and vegetable peels, coffee grounds, eggshells, grass clippings, leaves, small branches, and non-meat food scraps.
Avoid adding diseased or pest-infested plant material, meat, dairy, and fatty or oily foods to your compost.
3. Achieve the right balance.
Composting is a balance between "green" (nitrogen-rich) and "brown" (carbon-rich) materials. Green materials include kitchen scraps and fresh yard waste, while brown materials include dry leaves, straw, and cardboard.
Aim for the 2:1 (carbon to nitrogen) ratio. Too much green material can make the compost pile smelly and slimy, while too much brown material can slow down decomposition.
4. Chop and shred.
Chop or shred larger materials like branches or cornstalks to facilitate decomposition.
5. Keep it moist.
Maintain the compost pile's moisture level, similar to that of a wrung-out sponge. Water the pile as needed to keep it damp but not soggy.
6. Turn the compost.
Frequently stir or mix the compost to let in air and make it break down faster. Turning also helps distribute moisture and heat, which are essential for breaking down organic matter. A well-aerated compost pile should not have foul odors.
7. Monitor temperature.
Compost naturally generates heat as microorganisms break down the materials. The middle of the pile should get hot. A compost thermometer ensures the temperature reaches 130–160°F (54-71°C) for effective decomposition.
8. Be patient.
Composting takes time. It may take several months to a year to become fully mature. Compost is ready when it has a dark, crumbly texture and an earthy, pleasant smell.
9. Use your compost.
Once your compost is ready, use it to amend your garden soil, potting mix, or mulch around your plants.
By following these tips, you can create rich, organic compost that will boost the fertility and health of your garden soil while reducing waste and promoting sustainability.
How Portable Water Filters Benefit Survival Gardens
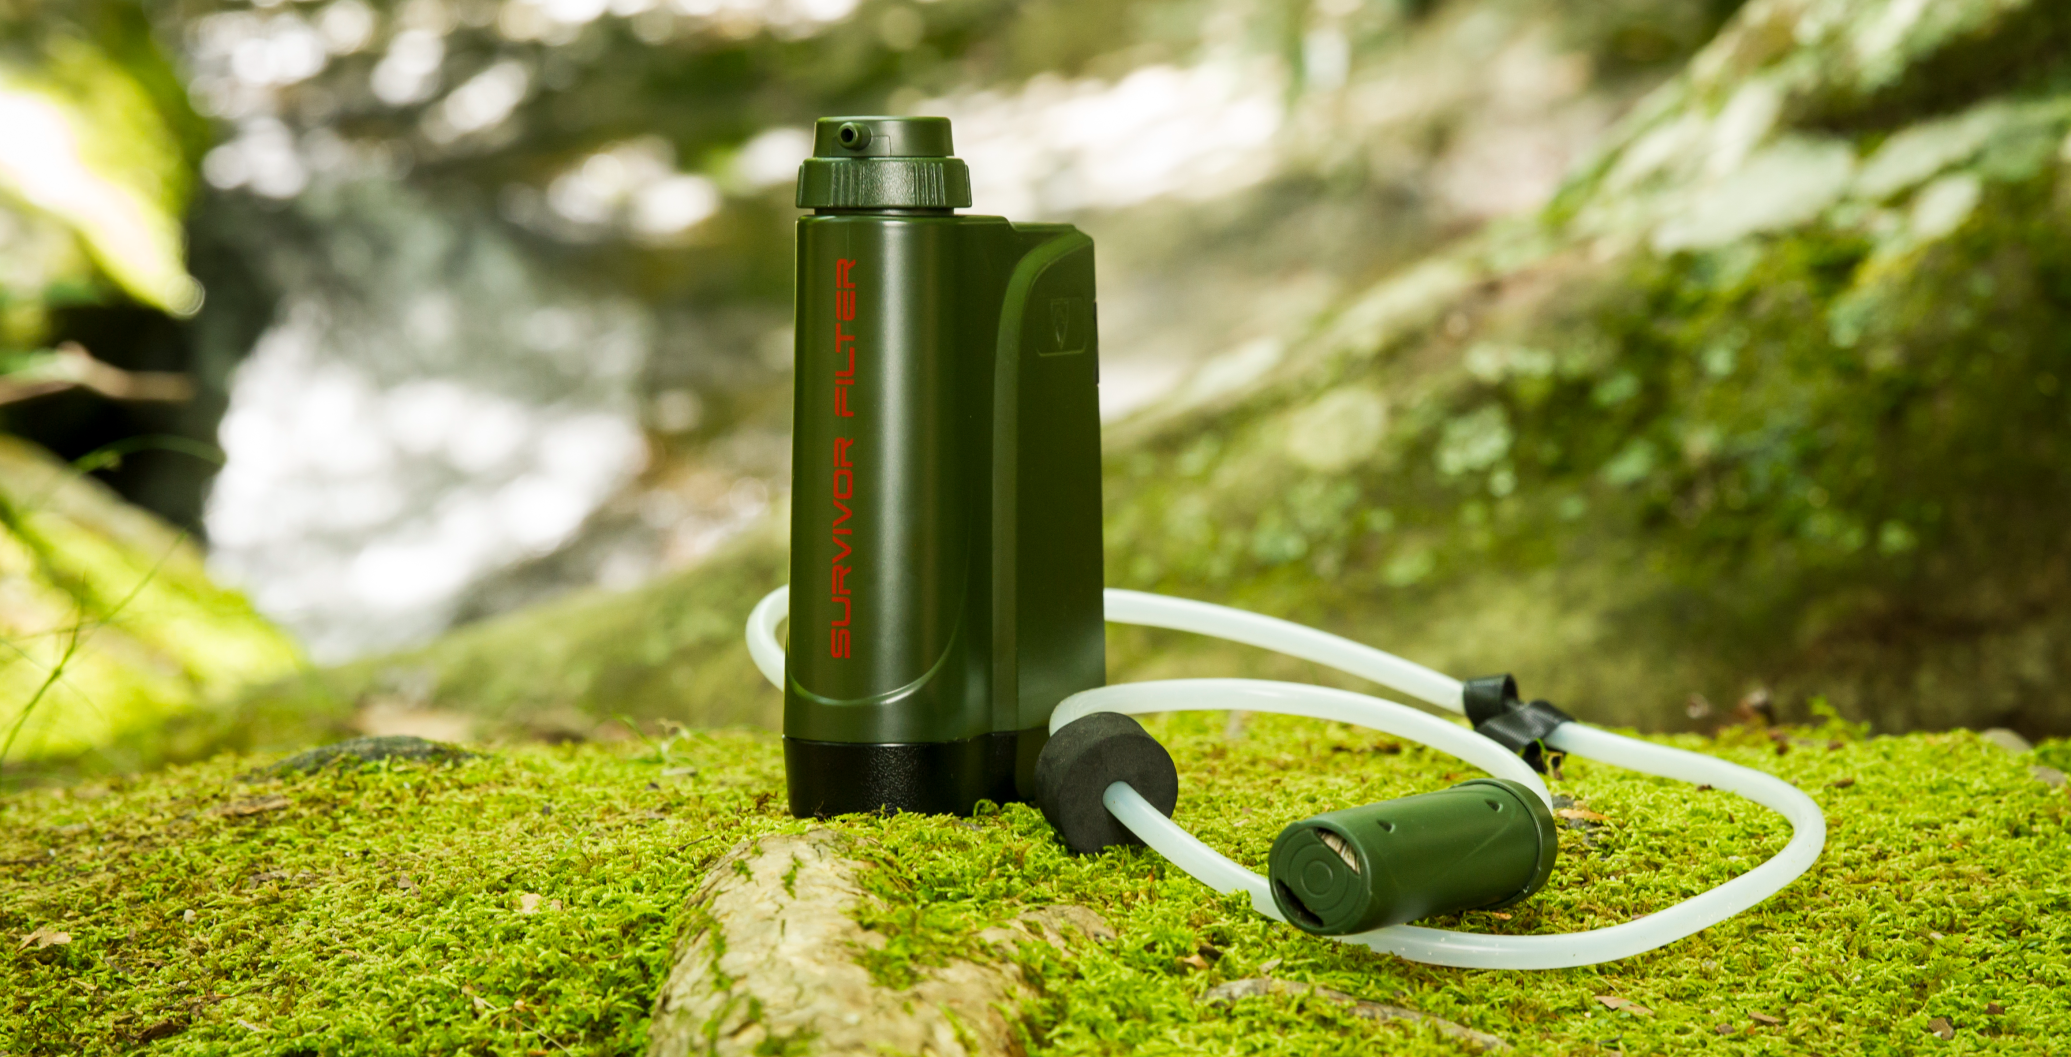
Using filtered water can prevent the introduction of contaminants and chemicals into your garden's soil. This helps maintain soil health and promotes a thriving garden ecosystem. This makes portable water filters valuable tools for home gardening.
Portable water filters allow you to use various water sources, including rainwater harvesting, well water, or water from natural bodies like ponds or rivers. This flexibility ensures you always have a reliable water source for your home garden, even if your main water supply is limited.
With portable water filters, you can ensure your home garden remains healthy and productive, regardless of water challenges or emergencies.
Your Path to Self-Sufficiency
Establishing a survival garden is a practical and empowering step towards self-sufficiency and food security. Begin with a small garden, gain experience, and witness your survival garden flourish as you become increasingly self-sustainable.


